Over the past few years I have been printing replica WW2 ordnance with a variety of different 3D printers. You don’t have to spend thousands on an all-singing, all-dancing 3D printer to get excellent results. None of the printers I own have cost more than £300, and most less than £200. The important thing with 3D printers is learning how they work; the best orientation to print parts; what kind of support to use; how often to level the bed; and how to ensure your prints adhere to the print bed. I’ve used a variety of different manufacturers and have my own personal preference, but it is down to you which you prefer. Currently I am totally in love with the Elegoo Centauri Carbon, but have used Creality, Anycubic and Bambu printers.
The difference between 3D printers is down to speed of the print, accuracy and how easy it is to level the print bed. Some even allow the use of multiple filaments at one time, allowing you to print models with multiple colours, but with what I print, one colour filament printing is totally adequate. The current generation of 3D printers also have fully automated bed levelling which removes one of the major headaches with 3D printing.
Once printed, how you then paint the replicas makes a huge difference to the final result. I’ve seen many people printing 3D ordnance using different colour filaments for each part to save on painting, but these replicas look like just what they are. Plastic replicas! I use just two colour filaments, white and black, and then use spray paints to colour each part. I’ve tried various paint colours over the years, and it has taken time to find the right one for each model and part. This is only half the story though as you then need to replicate things like coloured bands and lettering, and then add an aged or ‘dirty’ effect to get the right finish. Lastly, a final top coat can bring a model to life.
All this being said, the accuracy of the final result is in the eye of the beholder!
I sell the replicas on this website, so there are pictures of many on the ‘replica sales’ page, but I’ve never shown the process of actually making these replicas. I’ve put together videos showing just how I do it but with some bits kept a trade secret!
A shout out to Blackswanprints, the guy that creates the files for 3D printers of all these WW2 replicas. He takes time to ensure they are bang on the originals, creating superb 1:1 replicas of the original bit of ordnance. You can find his STL files and download them on Cults3D, just search for ‘Blackswanprints’!
I do hope you enjoy the below videos and they inspire you to join in and purchase a 3D printer!
More to come!
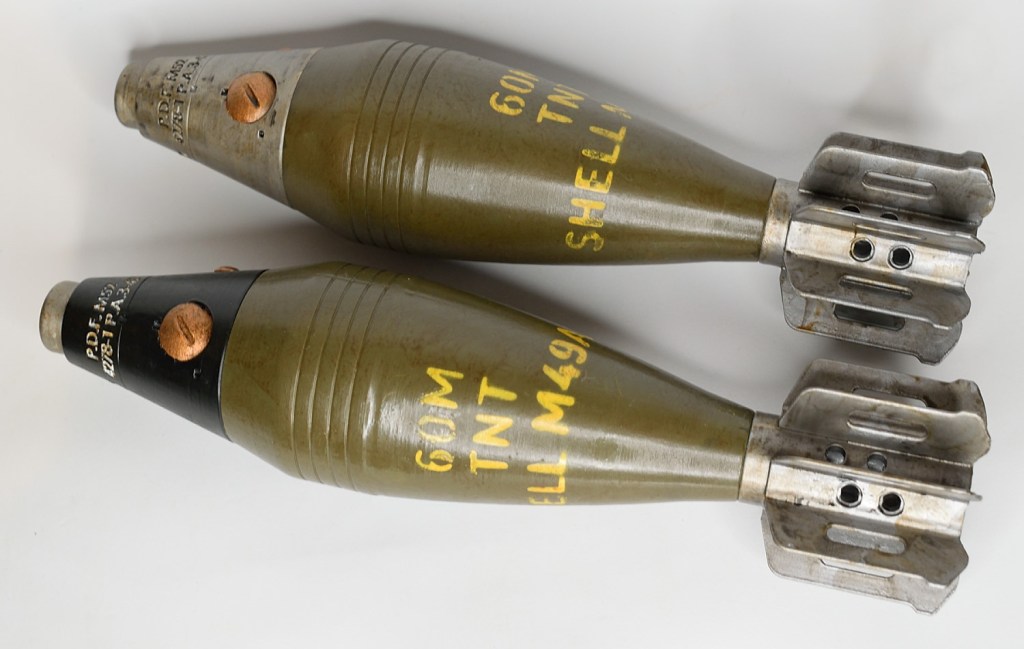
(Picture below for the post preview 🙂 🙂 )